Installation of the rooflight. Errors
What are the steps that the customer needs to pay more attention to during the installation of the skylight to ensure that the work of the craftsmen is free from defects and faults?
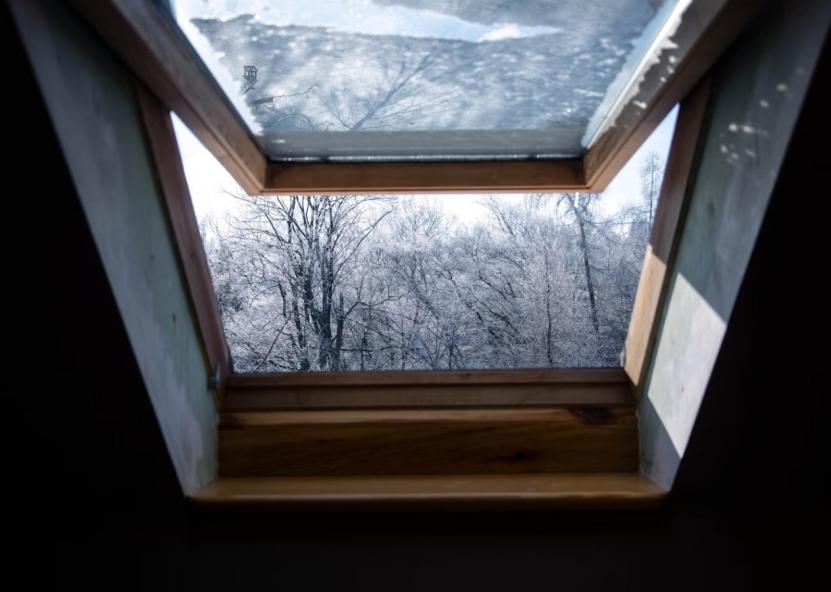
When rooflights are installed on a pitched roof, they are placed in the same plane as the roof slope itself. Therefore, the rooflights are subjected to exactly the same loads along with the roof – hail, the weight of heavy snow, storms, winds etc. These operating conditions dictate special demands not only on the quality of the rooflights, but also on their installation.
If rooflights are installed incorrectly, sooner or later the homeowner will be faced with many problems, often irreparable. Let's take a look at the most common rooflight installation mistakes. Some of them are made by negligent craftsmen and sometimes by homeowners who try to install their own windows.
Installing a skylight without an insulating frame
It is a misconception that a skylight can be installed like a normal front window. The rooflight is connected to the roof covering through a special insulating frame. This seals the joint between the edges of the mounting hole cut in the roof and the frame of the rooflight to be installed.
To ensure a quality installation and an enhanced warranty, manufacturers offer waterproofing and vapour barrier frames for each of their rooflight models to prevent moisture from compromising the seal.
Included in the kit may be additional insulation gaskets which are placed around the perimeter of the window unit. Most importantly, the insulating frames are fitted with special grooves for water drainage and also allow vapours to escape from the window structure and the insulation layer into the ventilation gap.
Therefore, if the craftsman or the owner decides to install the skylight without the insulating frames, using only improvised means, there is a risk of leakage and freezing of the skylight in future. Eventually, the wooden frame of the skylight may simply start to rot.
Inappropriate fixing of the insulation frame
But it is also wrong to fix the insulating frame wherever you can. It must only be installed in strictly designated areas, otherwise the skylight will be installed incorrectly and all the moisture will enter the room through the ventilation valve.
The insulating frame must be fixed via the special clips provided. These elements are necessary to ensure airtightness. These elements are usually located on the sides and top of the window. If the insulating frame is fixed in other cavities, for example in the central part, it will compromise the seal, allow moisture penetration and deteriorate the insulation.
Using polyurethane foam
As mentioned above, the installation technology for roof windows requires the use of a special insulating frame. The installation of skylights strictly prohibits the use of polyurethane foam.
Firstly, the installation foam expands and puts pressure on the frame, causing gradual deformation of the skylight, cracks, crevices and leaks. Secondly, polyurethane foam is very quickly degraded by exposure to ultraviolet rays. And since roof windows are much more exposed to such radiation than facade windows, draughts and leaks in the attic will very quickly occur.
It would be a good idea to use branded thermal insulation gaskets rather than foam.
Incorrect rooflight openings
In order to ensure that the skylight glazing unit is fully enveloped in warm air, it is essential to correctly shape the future skylight opening during installation. The top opening should be formed parallel to the floor and the bottom opening perpendicular to the floor.
Failure to do so will result in impaired convection of warm air in the skylight area. As a result, the skylight glazing unit will not warm up sufficiently during the cold season and condensation and ice may form on the glazing unit.
It would not be appropriate to shape the rooflight openings at an arbitrary angle.
Improper thermal insulation of the opening
It is also a mistake to think that foil foam is sufficient to insulate the eaves, and sometimes only waterproofing.
These materials are not sufficient, especially if the rooflight is connected to steel profiles or other metal elements that create "cold bridges".
Use dense, soft thermal insulation to insulate the roof edges. Mineral wool around the perimeter of the skylight is optimal. Or Neopor - grey polystyrene foam panels.
Insufficient thermal insulation of the rooflight will lead to freezing, condensation, leaks or rotting of the rafters.
Improperly shaped frame and sash spacing
When installing roof windows, it is important to create the correct spacing between the frame and sash. The spacing must be the same on all four sides. If the position of the sash in relation to the frame is not adjusted, even small misalignments will cause difficulties in opening the skylight in the future.
The frame of a rooflight (if it is made of wood) that has been installed incorrectly may later become deformed and even cracked. In addition, the gaps between the frame and the sash should not be too large. If the edges of the sash do not fit tightly against the frame, the wooden roof elements will later start to rot due to leaking leaks.
It is therefore important to maintain an equal distance between the roof frame and the sash. The geometry of the rooflight should not be distorted by leaving too large a gap between the contours.

